If you don’t know the basic use of Core ML, see this page , on the contrary, keep going our tutorial.
Use Vision with Core ML to perform image classification.
Overview
With the Core ML framework, you can use a trained machine learning model to classify input data. The Vision framework works with Core ML to apply classification models to images, and to preprocess those images to make machine learning tasks easier and more reliable.
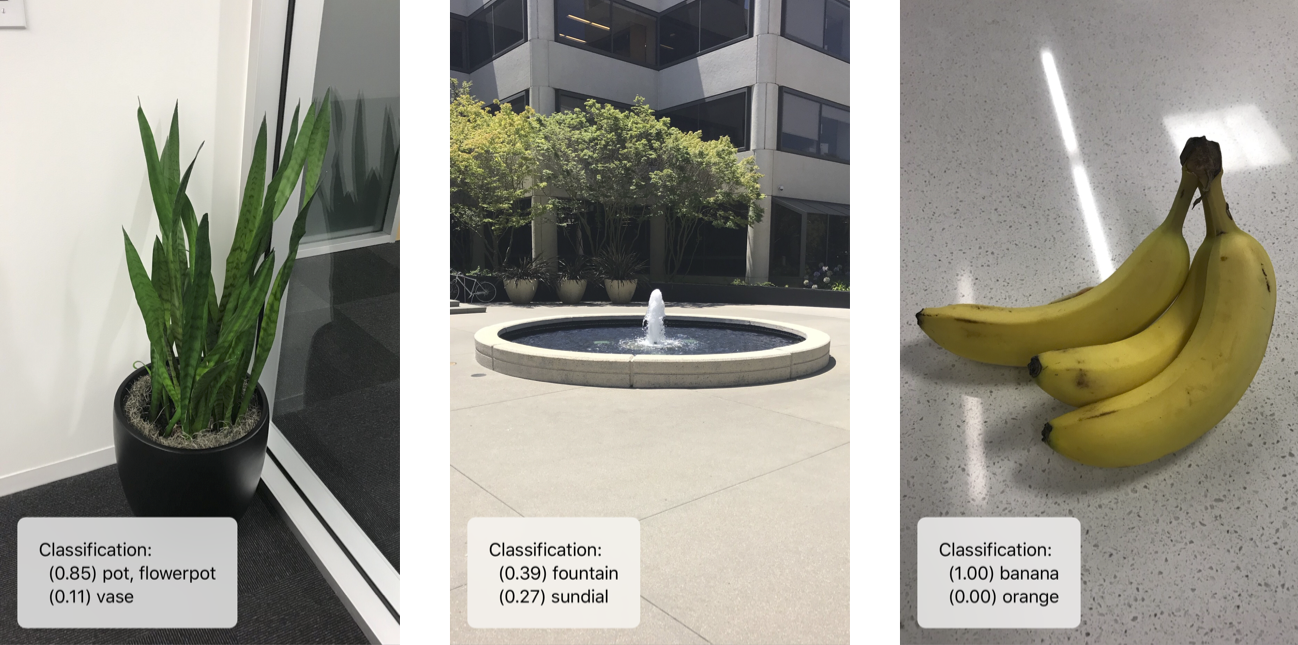
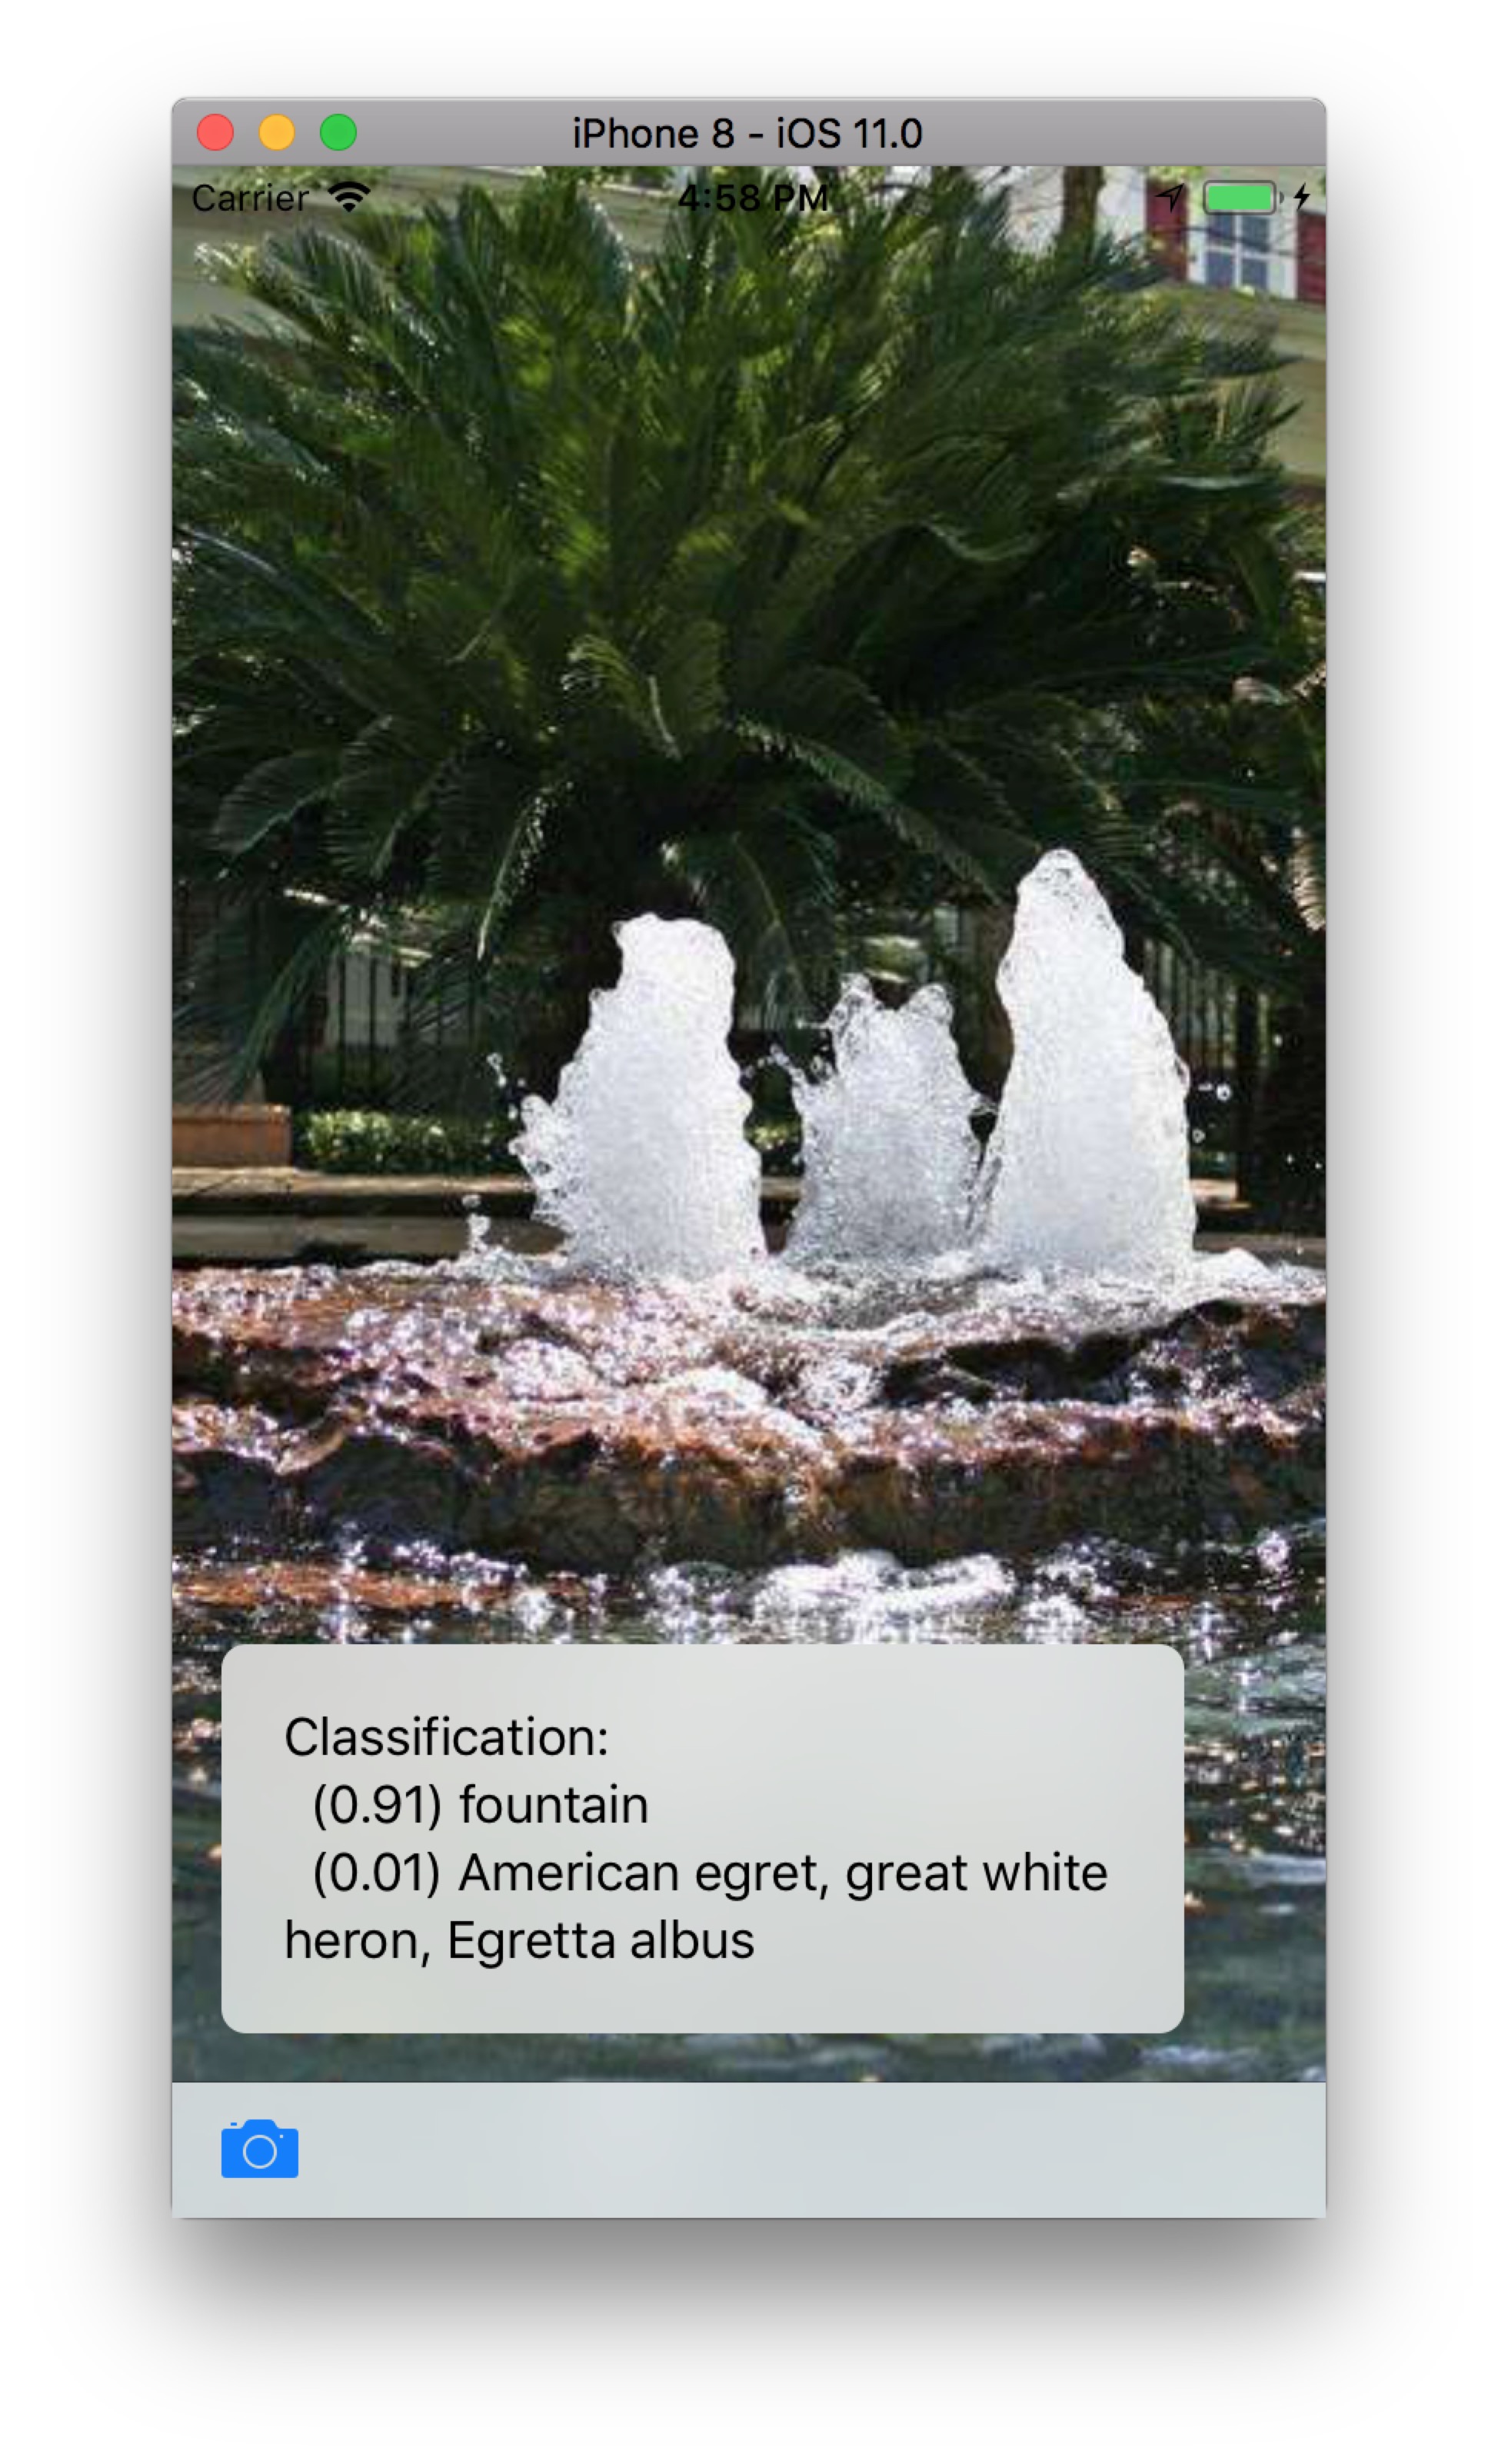
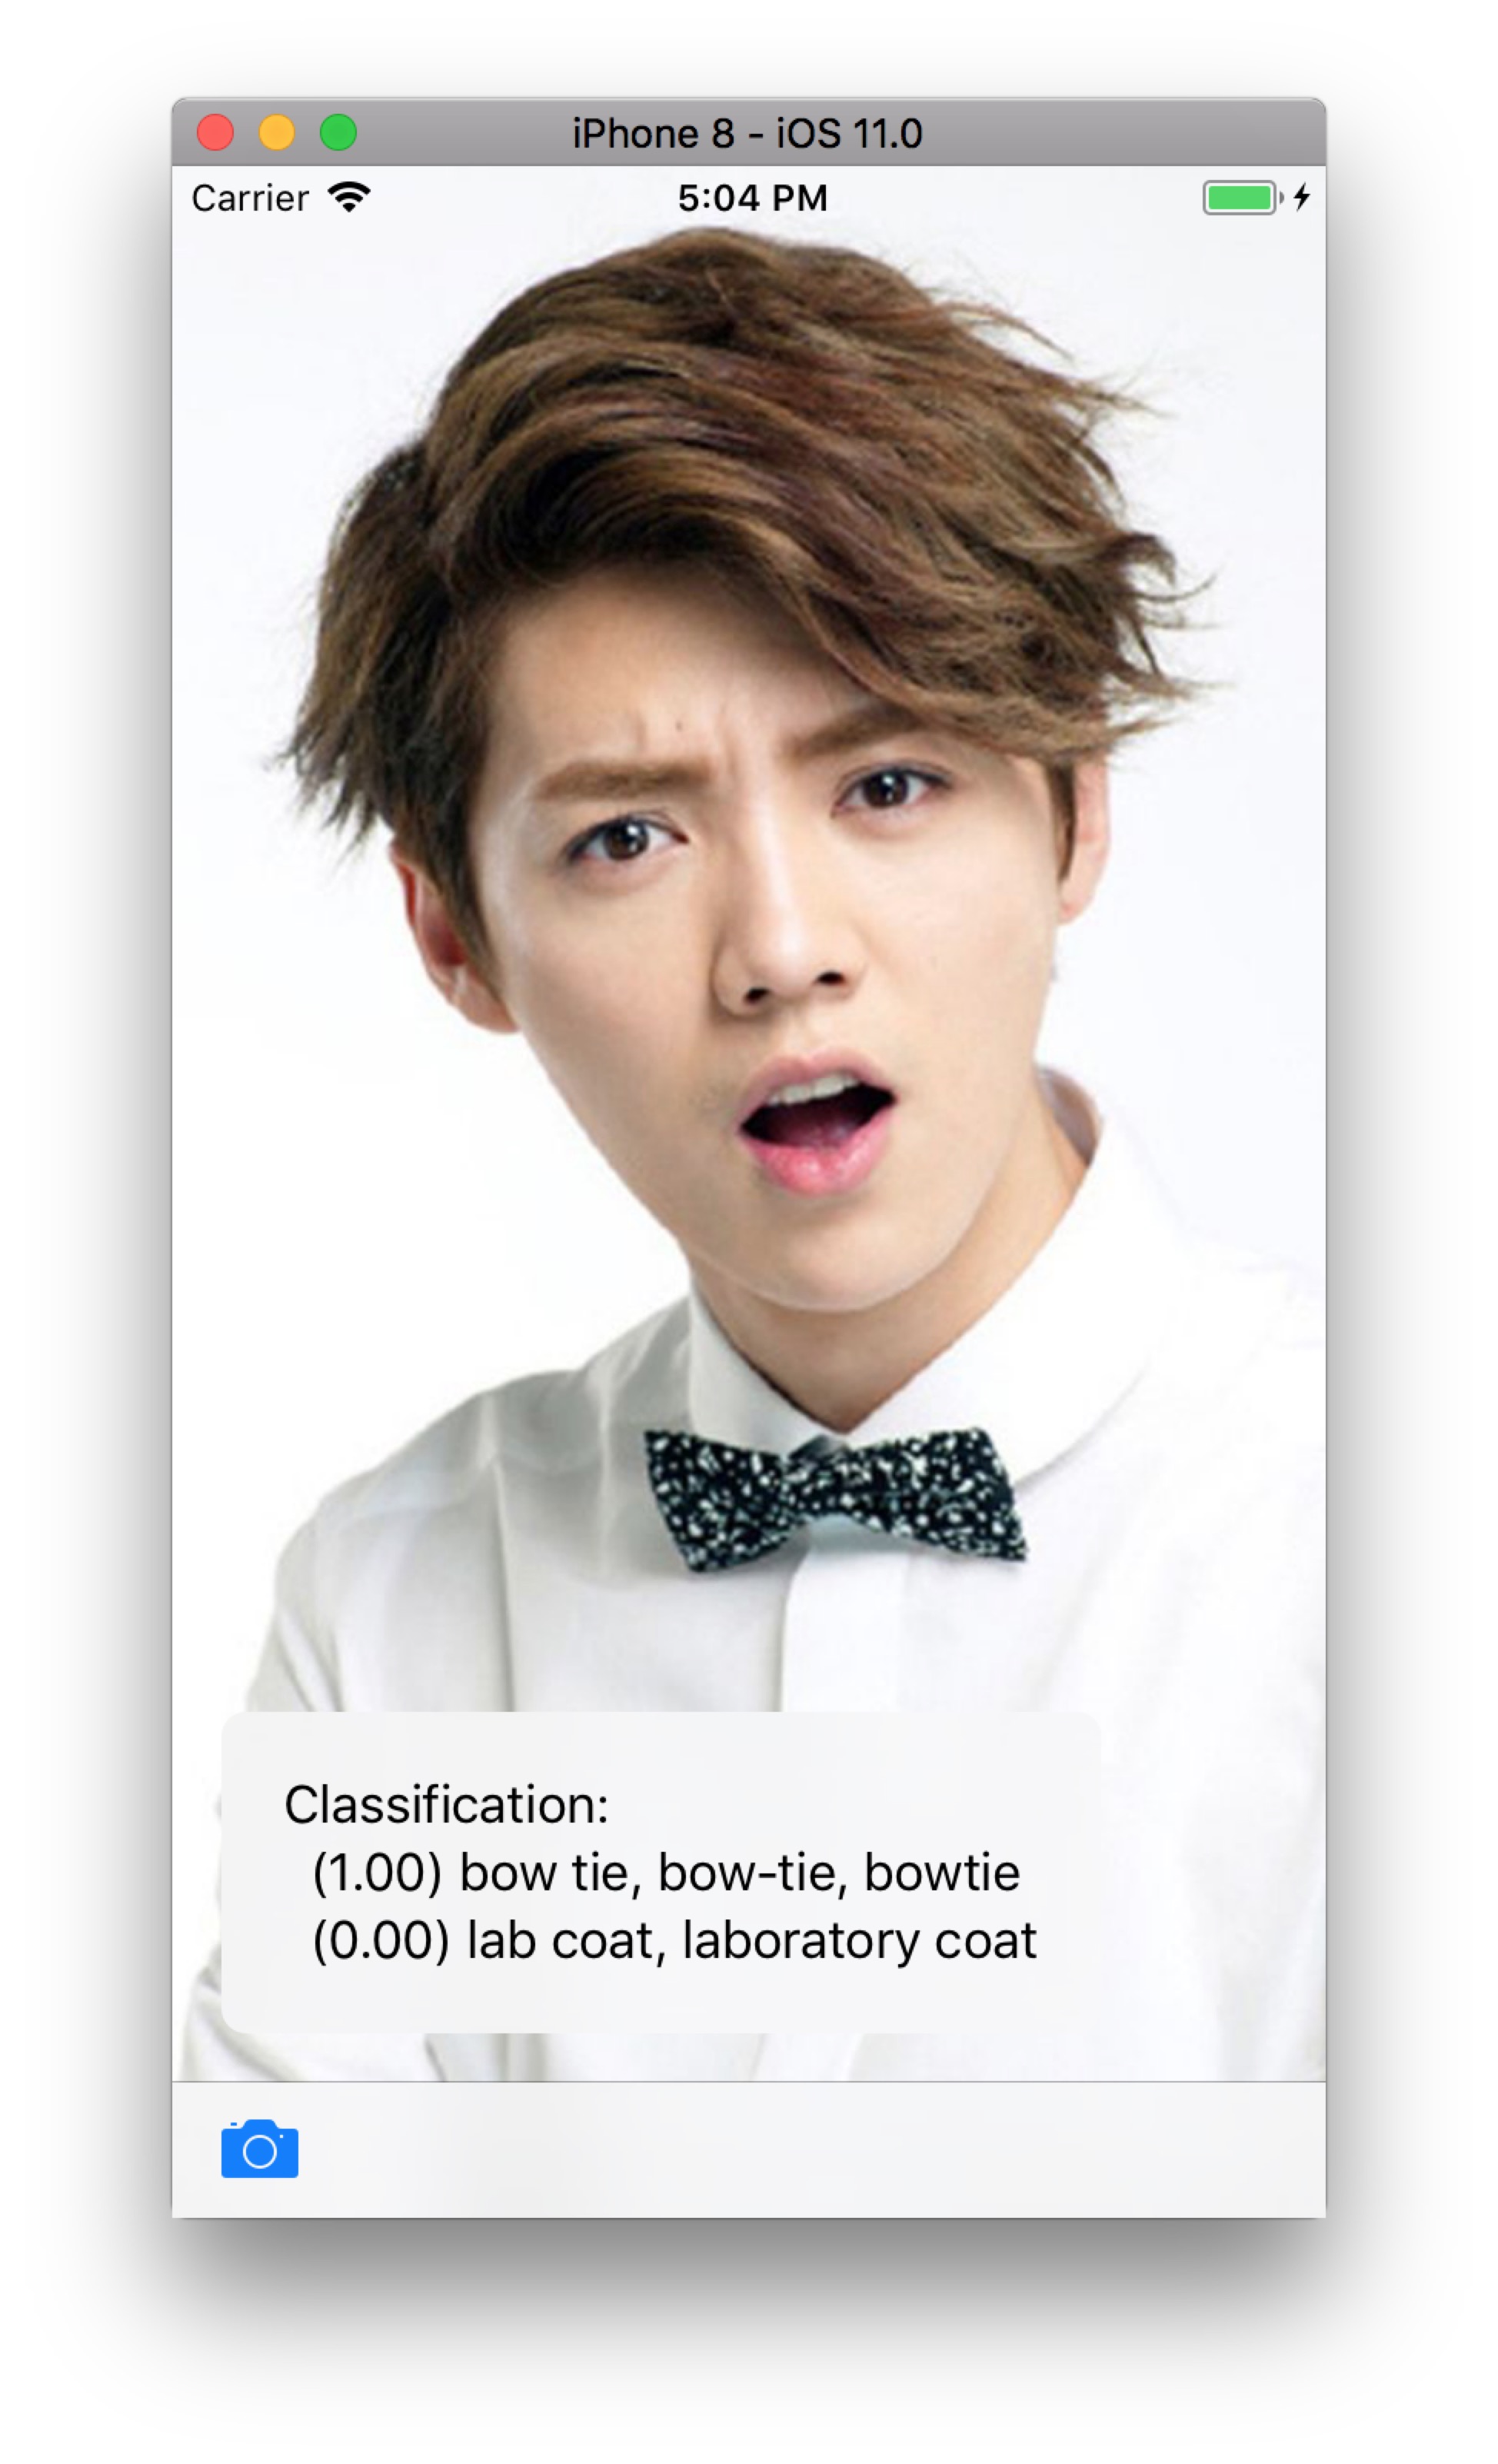
This tutorial I’m going to show you the open source MobileNet model, which identifies an image using 1000 classification categories as seen in the example screenshots below.
Now, we’ve seen it’s completely identified in official test case, but in my test case, half of them are failed to be identified. So I can sum this example code up,the trained model is unmatured.
But anyway, this is a good and easy step for us to going.
Start to my performance
Core ML automatically generates a Swift class which is MobileNet, that provides easy access to your ML model. To set up a Vision request using the model, create an instance of that class and use its model property to create a VNCoreMLRequest object. Use the request object’s completion handler to specify a method to receive results from the model after you run the request.
Download the Model Download Model After downloaded, dragging it to your project, complete snippet code as seen below.
class ViewController: UIViewController { override func touchesBegan(_ touches: Set<UITouch>, with event: UIEvent?) { choosePhotosAndHandle() } //1. Choose an image and handle it func choosePhotosAndHandle() { //Specific an image let imgpath = Bundle.main.path(forResource: "Strawberry", ofType: ".jpeg") if imgpath == nil { print("You specified image is nonexistent") return } let image = UIImage(contentsOfFile: imgpath!)! let orientation = CGImagePropertyOrientation(rawValue: UInt32(image.imageOrientation.rawValue))! guard let ciImage = CIImage(image: image) else { fatalError("Unable to create \(CIImage.self) from \(image).") } DispatchQueue.global(qos: .userInitiated).async { let handler = VNImageRequestHandler(ciImage: ciImage, orientation: orientation) do { try handler.perform([self.classifyRequest]) } catch { print("Failed to perform classification.\n\(error.localizedDescription)") } } } //2.Initialized an instance of MobileNet in lazy mode lazy var classifyRequest: VNCoreMLRequest = { let mlModel = MobileNet().model do { let model = try VNCoreMLModel(for: mlModel) let request = VNCoreMLRequest(model: model) { [weak self] request, error in self?.processClassifications(for: request, error: error) } request.imageCropAndScaleOption = .centerCrop return request } catch { fatalError("Failed to load Vision ML model: \(error)") } }() // 3.This is an callback func processClassifications(for request: VNRequest, error: Error?) { DispatchQueue.main.async { guard let results = request.results else { print("Unable to classify image. \(error!.localizedDescription)") return } // The `results` will always be `VNClassificationObservation`s, as specified by the Core ML model in this project. let classifications = results as! [VNClassificationObservation] if classifications.isEmpty { print("Nothing recognized") } else { // Display top classifications ranked by confidence in the UI let topClassifications = classifications.prefix(2) let descriptions = topClassifications.map({ classification in return String(format: " (%.2f) %@", classification.confidence, classification.identifier) }) //This is the output result print("Classification: \n" + descriptions.joined(separator: "\n")) } } } }
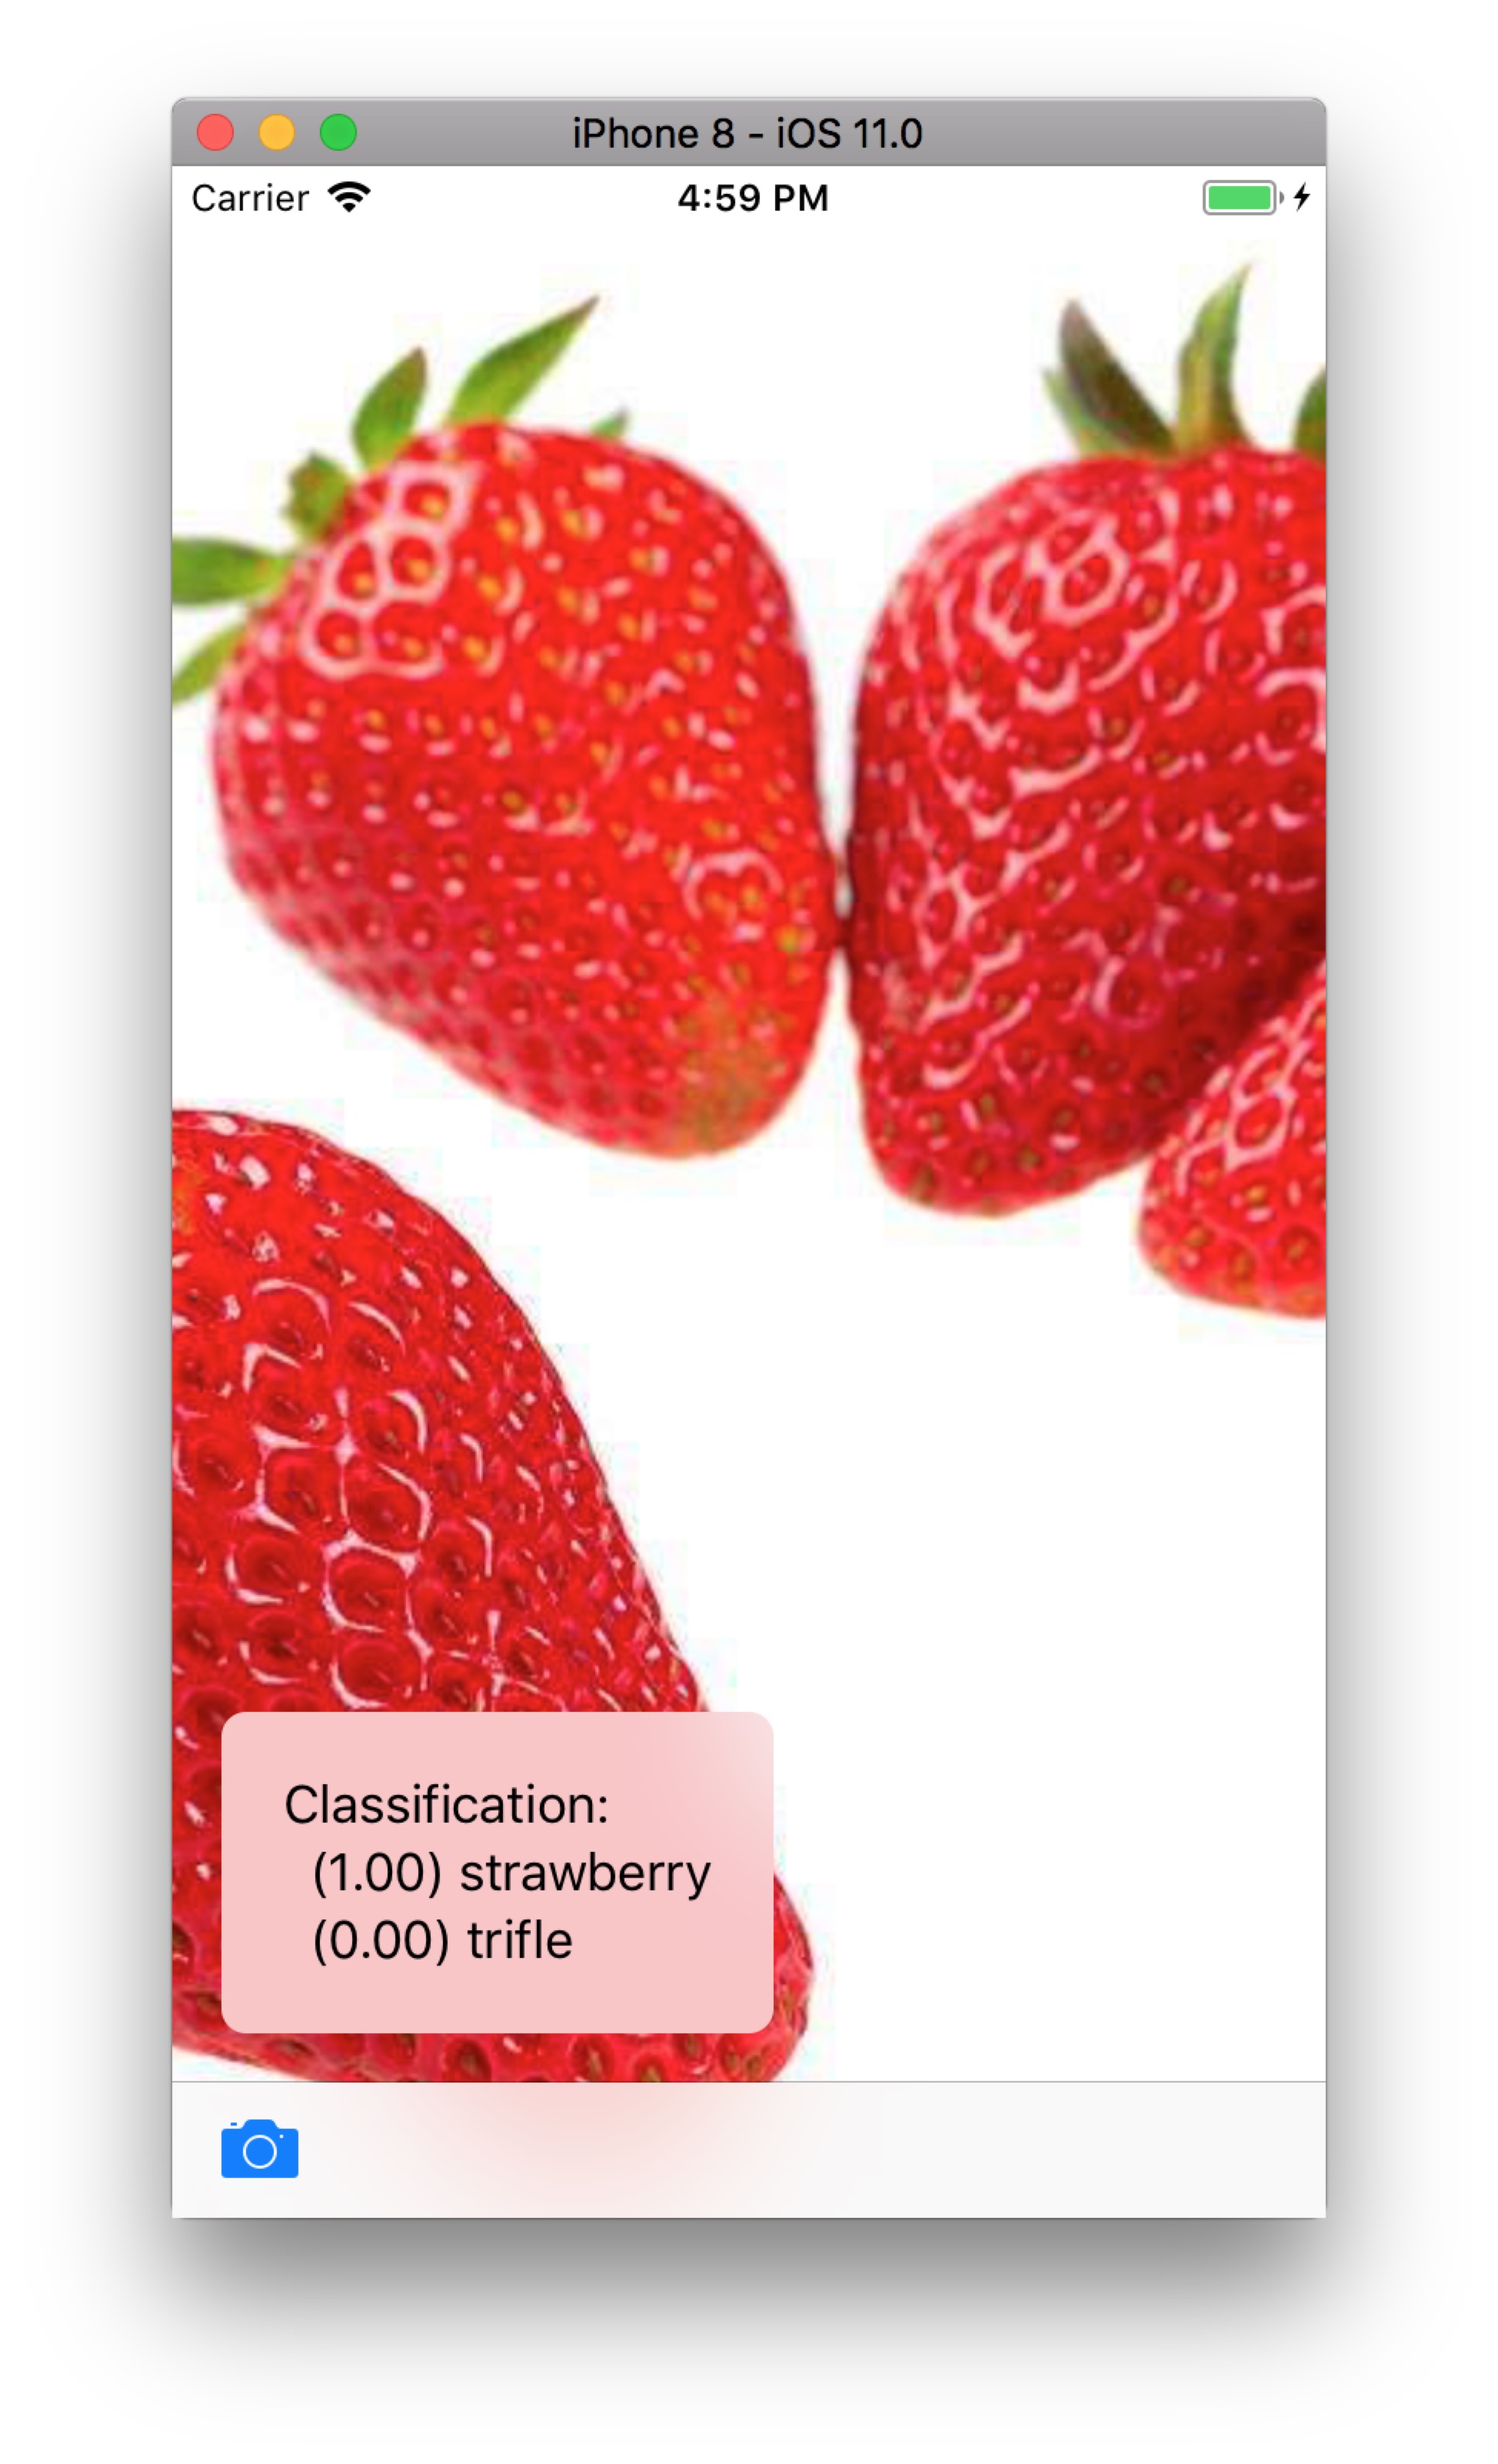
What we will always be seen in the console window as shown below:
1
2
3
Classification:
   (1.00) strawberry
   (0.00) trifle
The property of imageCropAndScaleOption in the class of VNCoreMLRequest illustration is an ML model processes input images in a fixed aspect ratio, but input images may have arbitrary aspect ratio, so Vision must scale of crop the image to fit. For best results, set a value to this property that matches the image layout the model was trained with. For the available classification models, the centerCrop option is appropriate unless noted otherwise.